

Carefully selected materials that deliver exceptional print quality, durability, and shelf presence.


 New
New



How to Design Custom Boxes: Step‑by‑Step Guide from Brief to Print
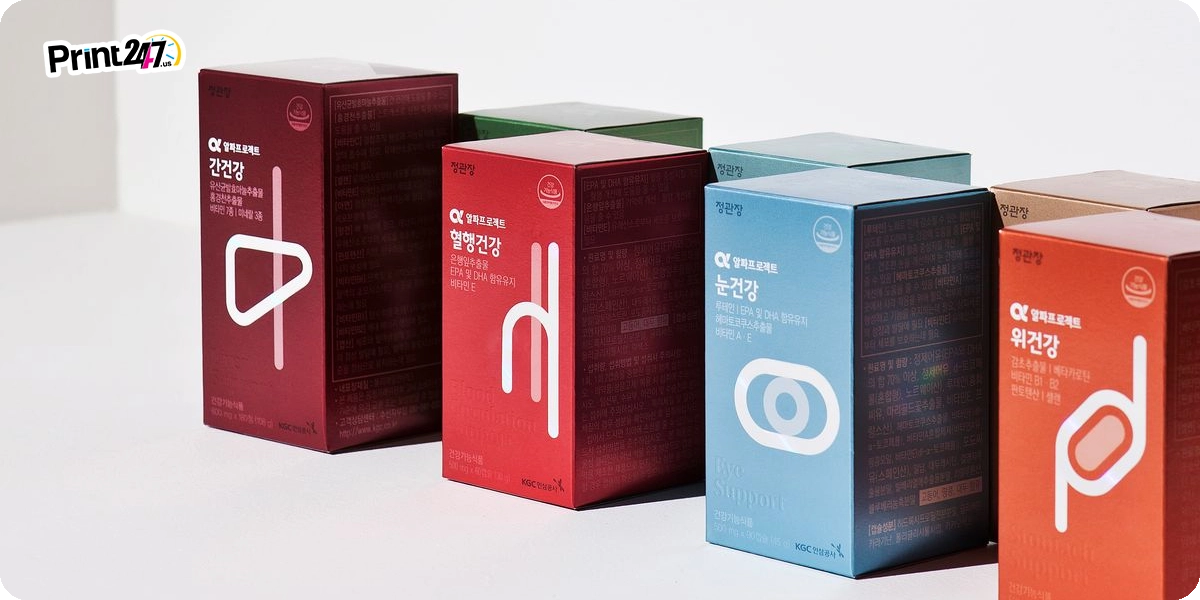
This is without a doubt that packaging boxes hold utmost significance when it comes to making an impression on shelves and letting customers stick with your brand. But this is where many brands do wrong. They focus only on the artworks and mockups which is necessary but not the only thing when it comes to designing exclusive custom boxes.
The other things that hold equal importance are size, structure, as well as printing rules. Because a box that is too tight to fit the product, looks wrong or blurry, or has printed text that gets cut off on edges is hideous to look at and doesn’t function well. So knowing the clear process beforehand can save money as well as the stress of reordering.
According to futuremarketinsights, a perfectly designed custom packaging solution allows businesses to better protect products and promote themselves in the niche. Furthermore, the market size of custom boxes was at USD 5.2 billion in 2025 and is further set to go up to 7.7 billion USD in 2035, at a CAGR of 3.9%.
In this guide, you’ll learn how to design custom boxes step by step, from your first idea and measurements, to dielines, finishes, and print‑ready files.
You’ll also look at how our free design support can help you achieve greatness at every stage.
Step 1 – Start with a Clear Packaging Brief
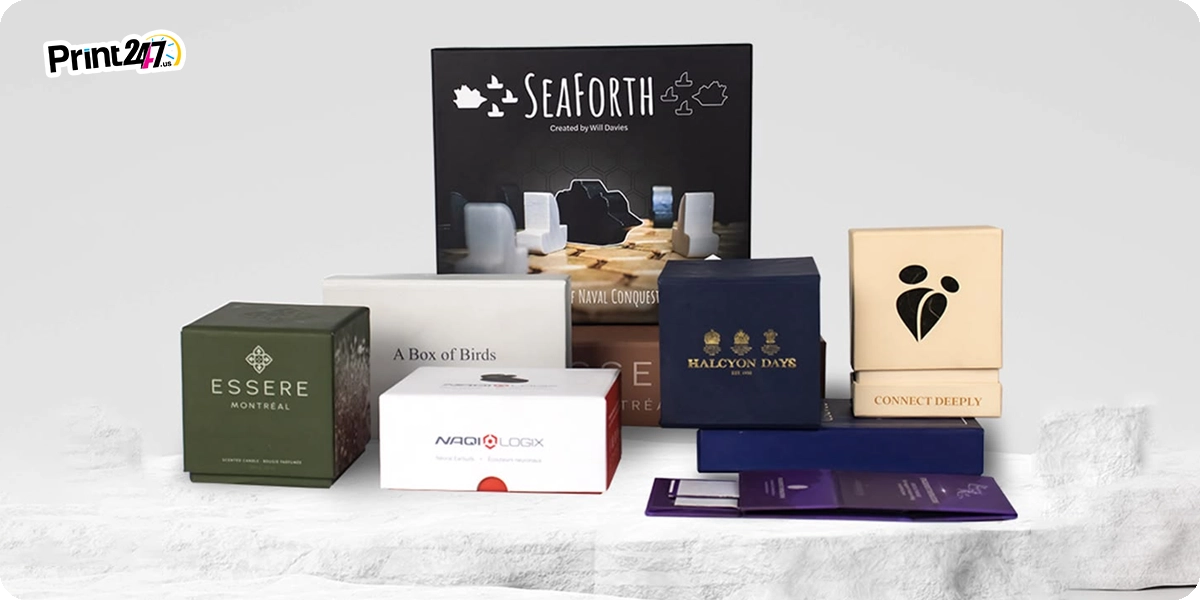
Before getting ready to open any designing software to design a packaging box, write a simple brief on the paper to define purpose.
In this brief, you just have to answer a few questions that will clearly depict your designer as well as your packaging supplier about what you actually need.
Like:
What are you packing?
State the product name along with its dimensions, weight, shape, and how fragile it is.Where will this box be used?
Only for shipping, only for retail shelves, or for both (shelf‑ready mailers).Who is the customer?
Define the age of your target audience, style, and what feeling you want when they open the box (fun, luxury, eco, minimal).Brand assets and requirements
Logo files, brand colors, fonts, and any must‑have text like ingredients, barcodes, batch numbers, or legal warnings.Budget and quantity
Prescribe the allotted budget per unit and how many pieces you plan to print. This helps to decide materials and finish costs.
A clear brief that answers all these questions accordingly can make it easier for your packaging partner to suggest the right box style and to quote accurately.
Step 2 – Choose the Right Box Style and Material
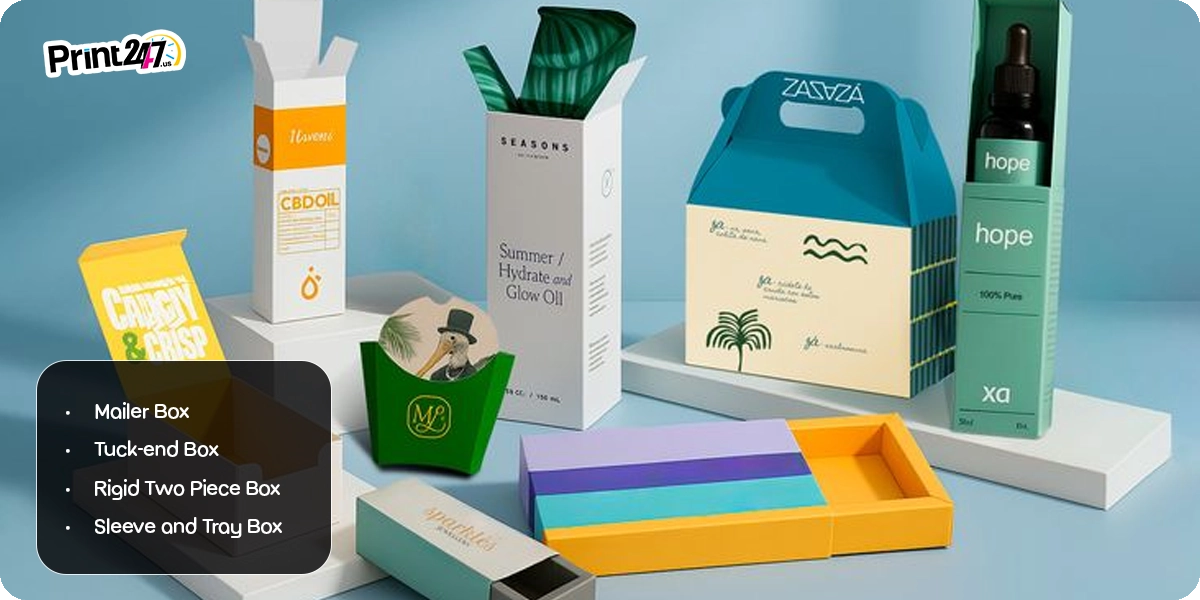
When thinking about how to design perfectly functioning custom boxes, always start with the structure. Here the graphics become secondary. The style and material decide how strong the box is and how much good feel the artwork might give.
Common box styles:
Mailer box
It is a sturdy, self‑locking box style that is usually made from corrugated cardboard. This is a great option to be used for e‑commerce shipping as well as subscription boxes.Tuck‑end box
It is usually known as a lightweight folding carton with top and bottom flaps that tuck in. Or in some cases it contains auto lock on one end and tuck on the other. It is mostly used in cosmetics, food, and for such products that require display on shelves.Rigid two piece box
Made from thick rigid board, this box style consists of two parts. One is the base tray and other is the detachable lid on top. It gives a premium feel to luxury products, electronics, and gift sets.Sleeve and tray box
It can be said to be like a two piece but with different interaction. The tray slides out of a sleeve for a premium drawer like unboxing.
Basic material choices in simple terms:
Folding carton – thin but strong card for retail cartons.
Corrugated – fluted board for shipping and mailer boxes.
Rigid board – very thick board wrapped with printed paper for high‑end boxes.
If you’re not sure about which style to choose for your custom boxes then read here for more insights. For material selection, know more on our blog here. And if you need assistance in selecting the ideal style as well as material stock, give our experts a call.
Step 3 – Measure Your Product and Decide Box Dimensions
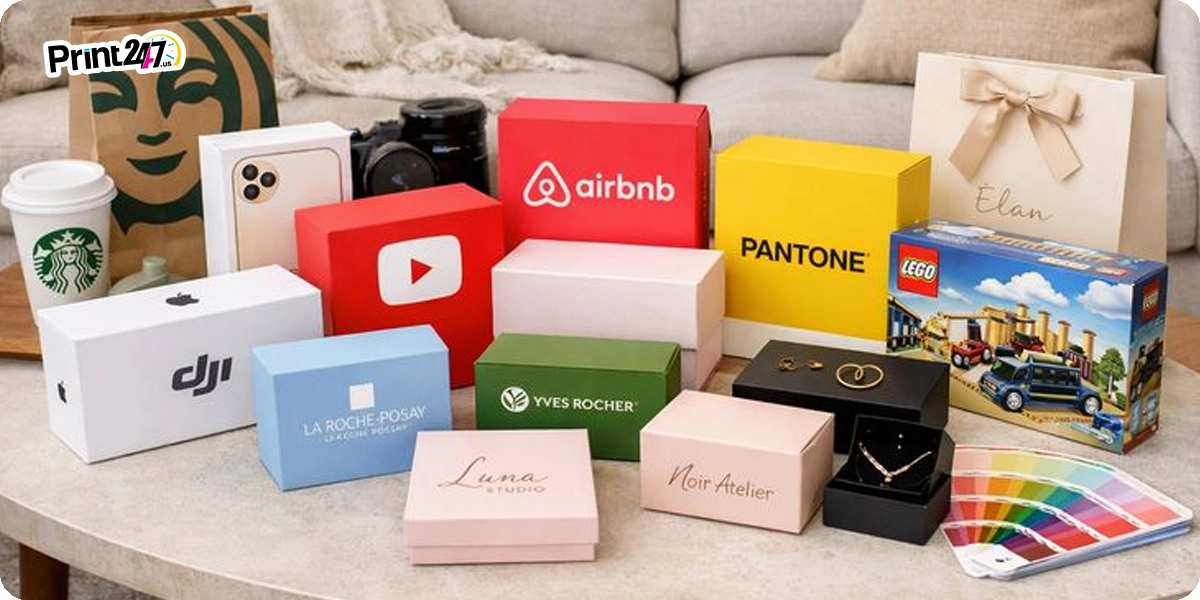
For the next step, carefully measure the size of your product. Simply use a ruler or a caliper, and write down the length, width, and height of the product.
This is important to know beforehand before sizing the box that will be used to pack the product. For a snug fit with no padding, the box should be 5–10 mm (0.2 – 0.4 inches) larger than the product on each dimension (length, width, and height). If using cushioning materials like bubble wrap, add 2 times the padding thickness to each dimension. Always measure the internal dimensions of the box, not external.
Inner dimensions
These are the inside measurements of the box. They must be slightly bigger than the product so it fits but does not rattle.Outer dimensions
These include the thickness of the board and may matter for shipping, shelf space, or storage.
As a simple rule, aim for a “snug but not tight” fit. Add just enough space for padding like tissue, inserts, or small paper void fill, especially with fragile items.
If you are unsure on how much clearance to add on all sides, we have given detailed insights on how to measure box dimensions based on your product type.
Step 4 – Create or Request a Dieline
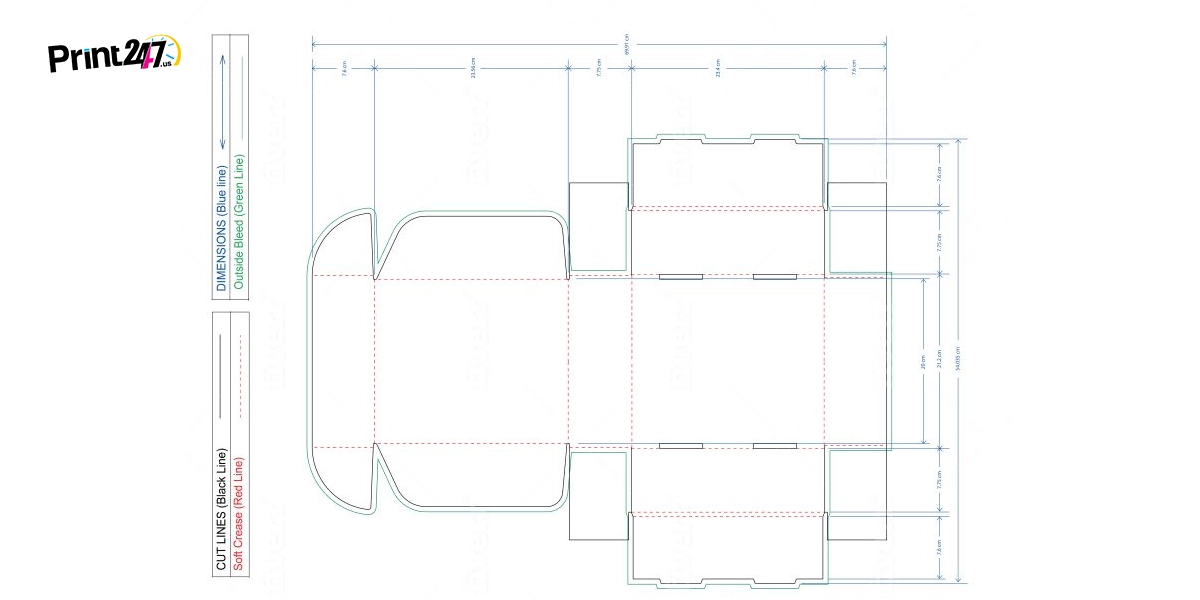
After knowing which style, material, and dimension of custom box to go for, you need to further the process toward dieline. A dieline is a flat template of your box that clearly shows all the points where it will be cut, creased, folded, and glued.
Most brands ask their box supplier to create a custom dieline based on the chosen style and size, or they use a trusted online dieline library.
The typical markings on the dieline include:
Solid lines – die cut lines where the box will be cut out.
Dashed or dotted lines – these indicate the fold or score lines.
Shaded or marked areas – glue flaps or non‑print zones where artwork must be in a clear view.
You can send this dieline file in these formats, PDF, AI, or editable vector file. At this stage, it should already include standard bleed and basic safe margins, even before you start the full artwork.
And if you need help in perfecting your dieline file or need one from scratch, our designers are here for you.
Step 5 – Design Artwork on Top of the Dieline
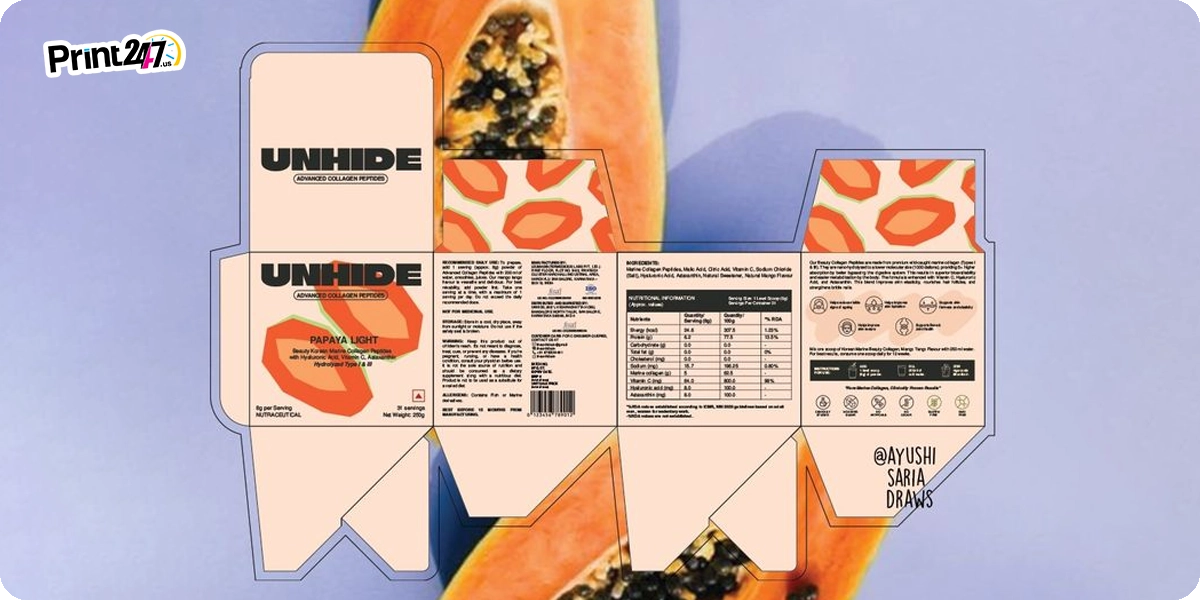
For the next step, merge your design with the dieline. To do so, import or upload your dieline into your designing software (such as Illustrator) and create a new layer above it for placing your artwork.
Make sure to follow the below tips for best outcome:
Keep your logo and main message on the front/top main panels where the view is must.
Use side and back panels for details like usage instructions, ingredients, or brand story.
Always avoid placing your tiny text or important symbols across folds, edges, or glue flaps.
Work in CMYK color mode and use images at 300 dpi for sharp print quality.
It helps to temporarily hide the dieline and zoom out from time to time. This lets you see the full box design and check that the story still makes sense when the box is folded.
Step 6 – Choose Finishes: Matte/Gloss Laminate, Spot UV, Foil
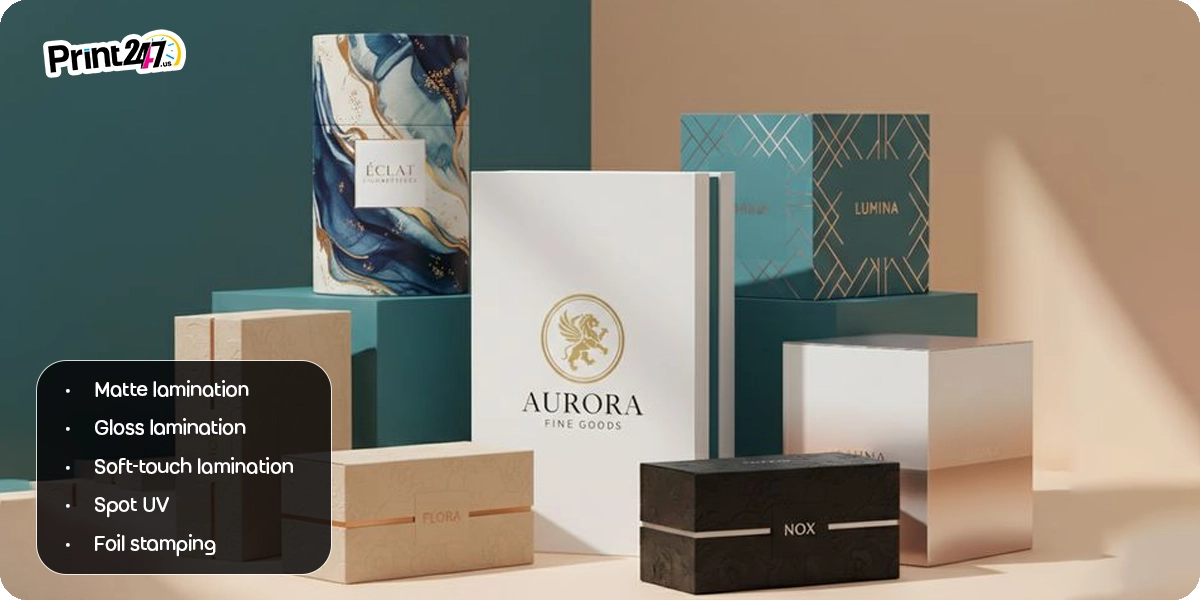
Finishes hold the power to change the looks and feels of the boxes. You don’t need all of them to be applied on your boxes, each one holds its own importance. You can start with only one for your packaging or combine two or more for splendid visuals that complement your brand.
Key finishes for custom boxes:
Matte lamination
This finishing gives a soft yet non‑shiny surface to the boxes that looks modern and premium. It is great to complement luxury and minimal designs.Gloss lamination
This gives a shiny and bright outlook by making colors pop. This also acts as a protective barrier for printing. This coating is the most popular choice for retail boxes.Soft‑touch lamination
A velvety “peach‑skin” feel that instantly gives perception of high‑end quality. This is mostly used on rigid and premium mailer boxes.Spot UV
This finish gives a high gloss appeal on selective areas (like it can be applied on logos or patterns for better prominence). It can also be used in combination with matte or soft‑touch base.Foil stamping
It is a metallic foil pressed onto the box (gold, silver, or colored) for shiny logos and artworks outlines.
A Quick Comparison Table for Finishing
Finish type | Look and feel | Best used on |
Matte lamination | Flat, non‑glare, premium and calm. | Luxury, minimal brands, dark colors. |
Gloss lamination | Shiny, high contrast, very bright. | Colorful retail boxes, image‑heavy designs. |
Soft‑touch lamination | Velvety, “rubberized,” very premium. | Rigid boxes, PR kits, premium subscriptions. |
Spot UV | Extra glossy only on selected areas. | Logos, icons, and patterns over matte/soft‑touch. |
Foil stamping | Metallic, reflective shine. | Logos, borders, seals, text highlights. |
Clearly demonstrate in your design file with the text and places where you want your finishes to be applied.
Step 7 – Prepare Print‑Ready Files (Bleed, Safe Area, Format)
.webp?alt=media&token=9afa2cd1-be4e-4945-a93a-4c5bbaa970ac "CMYK print files")
Even a great design can fail if the files are not set up correctly for print. This can result in misprinting and subpar results. A few simple rules help:
Bleed
Bleed is part of actual artwork but a little extra that extends past the cut line. It avoids thin white lines if the cut is slightly off. A common bleed is 3 mm or about 0.125 inch on all sides, but always follow your printer’s spec.Safe area
Keep text and key logos a few millimeters inside from the cut line and away from folds. This is the safe area so nothing important gets cut or bent during the die cutting process.Color and resolution
o Use CMYK for printing.
o Use 300 dpi for photos and graphics.
Fonts and links
Outline or embed fonts and all linked images before you export the final file.File format
Most packaging printers prefer print‑ready PDF with layers for dieline and finishes, or native AI files if agreed.
Step 8 – Review 3D Mockups and Physical Samples
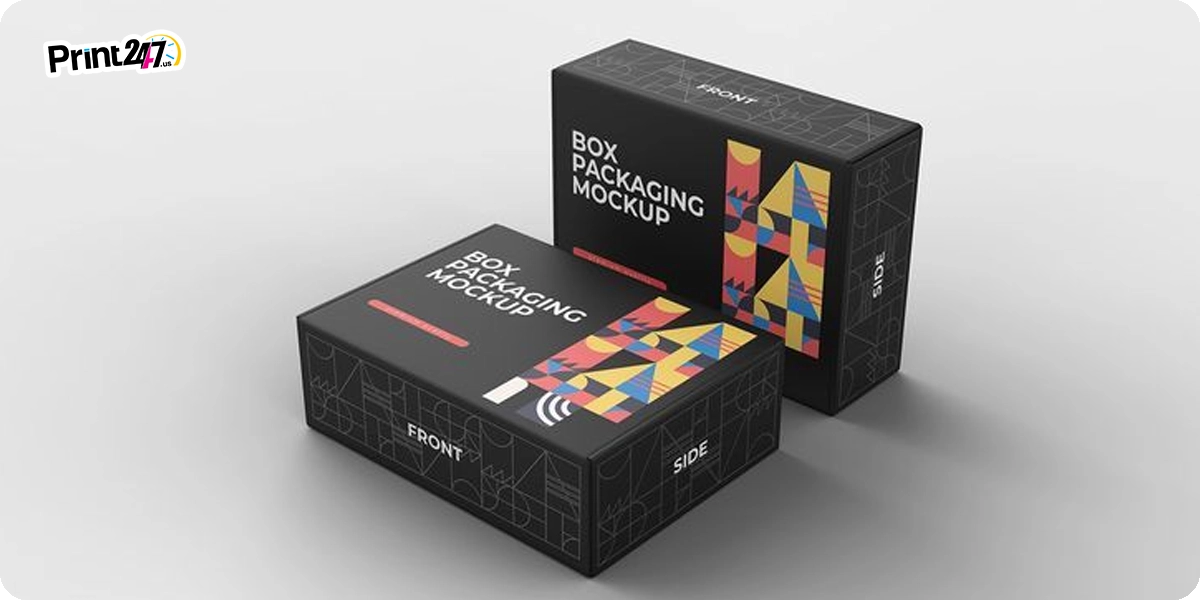
Flat artwork or dieline file with your artwork can still be misleading or leave loopholes in the design. So, the best action would be to see your box in 3D before going for mass printing.
Digital 3D previews
Many suppliers or tools can generate 3D mockups from your dieline and artwork so you can spin the box and check each panel.White dummy / structural sample
This is a plain, unprinted sample made with the real board. It lets you test fit, strength, and assembly before you commit to print.Printed proof
For larger or mass quantity runs, you can ask for a printed proof to see real colors, text size, and finishes before full production.
Taking due time at this crucial step can help you to prevent expensive mistakes later.
Avoid Common Mistakes When Designing Custom Boxes
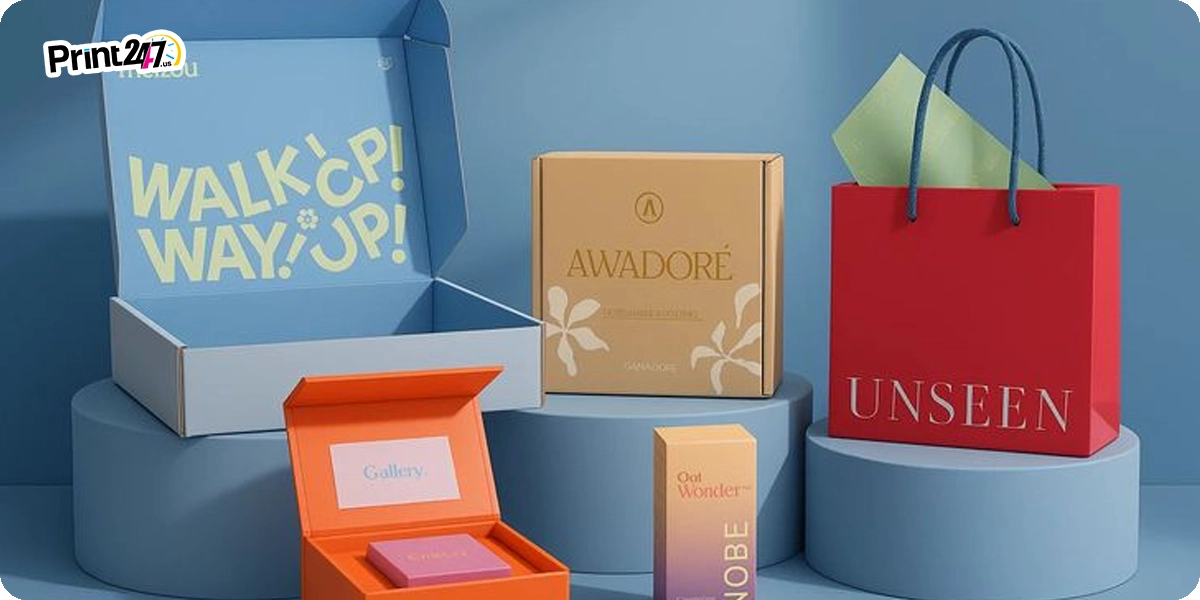
Below are the frequent issues that brands and businesses run into when designing boxes and how to avoid them:
Wrong dimensions
Designing the box before measuring the product properly, or mixing up inner and outer dimensions.No bleed or tight margins
Artwork stops at the cut line or text sits right at the edge, leading to white lines or cropped content.RGB colors or low‑resolution images
Files set up for screens instead of print, which can cause dull colors and blurry images.Ignoring glue flaps and fold areas
Placing key text or logos on glue flaps, or across deep folds where they will be hidden or distorted.Overusing premium finishes
Putting foil, spot UV, and embossing everywhere without a clear reason, which raises cost and can make the design feel messy.
A quick pre‑print review with your supplier’s design team can catch most of these before production.
How Print247’s Free Design Support Makes This Easier
Designing packaging from scratch can feel technical and tough. At Print247, we can guide you through each step so you don’t have to be a print expert.
With free design support, you can:
Get structural advice early
Share your product size, weight, and shipping method and get suggestions for box style and board type.Request custom dielines
Our expert designers can build dielines for your chosen dimensions and style so you don’t have to figure out folds and flaps yourself.Have your artwork checked before print
Our team can review your files for bleed, safe areas, color mode, resolution, and finish layers, and flag issues before you approve the job.Get guidance on finishes
You can discuss with our capable team to know whether matte, gloss, soft‑touch, spot UV, or foil makes sense for your budget and brand, instead of guessing.
This kind of support from us is especially helpful for new brands learning how to design packaging boxes for the first time.
Conclusion
Designing custom boxes becomes much easier when you follow a clear path:
Brief → box style → dimensions → dieline → artwork → finishes → file prep → proofs → production.
You don’t need to master every technical detail by yourself; you just need to know every single detail about your product, your customer, and the feeling you want to create when customers hold or see your packaging boxes.
For the further technical steps, you can always rely on us, Print247, as your reliable source for getting customized boxes. We offer free design support to realize your draft idea, create print-ready files, and also manufacture personalized boxes for your product and business. To get started, send us an email or give our experts a call.
Frequently Asked Questions
What’s the first step when designing custom boxes?
The first and most crucial step before any production start is to create a simple packaging brief that explains your product, target customer, box purpose (shipping, retail, or both), brand guidelines, budget, and quantity. This brief guides every later decision, from box style to finishes.
Do I choose the box style or the artwork first?
Always choose the box style and material first, then design your artwork on that structure. The shape, folds, and opening style decide how much space you have and where key elements like your logo will sit.
Can I add finishes like foil, embossing, or spot UV later?
You need to plan finishes during the design stage and mark them clearly on separate layers or spot colors (for example, a “foil” or “spot UV” layer) so the printer can create the correct plates or dies. Adding them after files are finalized usually means a redesign.
Do I need a physical sample before full production?
For new projects or important launches, it’s smart to request at least a structural sample (white dummy) and, if budget allows, a printed proof to check fit, colors, and finishes before mass production.
What if I need help to to set up dielines or print‑ready files?
At Print247, we give you freedom to share your brand and product details with us and have free access to our free design support. Through which we can help you create dielines, review your artwork for bleed and safe areas, and help you prepare files that are ready for print.
Get a Quick Quote
More Articles
 Bill ‘Hogg’ Ryan
Custom Vial Boxes Guide: Sizes, Materials, and Ordering Tips for 2026
 Bill ‘Hogg’ Ryan
The Complete Apparel Packaging Guide for Startups
 Bill ‘Hogg’ Ryan